Server Side

Last updated: February 2th, 2022

System Requirements

Because this documentation using cPanel, a web hosting with cPanel is recommended. If you don't have web hosting or domain name, please Click Here, we can provide you.

  1. Linux Web Hosting
  2. PHP Version: 7.2 , 7.3, 7.4
  3. PHP Extensions: Curl with SSL, GD2 Image Library, JSON Support, MBString, Iconv, OpenSSL, Mcrypt, PDO, PDO_Mysql, Mysqlnd, allow_url_fopen, SourceGuardian, XML, Fileinfo, Intl
  4. MySQL 5.5.x or newer
  5. Android Studio Bumblebee | 2021.1.1 or newer

Getting Started

Step One

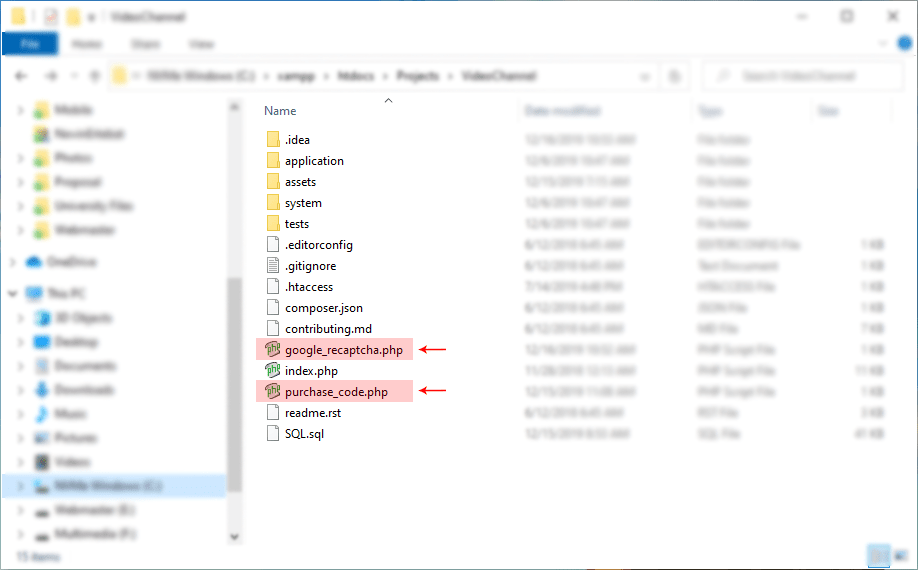
First of all, open purchase_code.php from download package inside 'server_side' folder and write your Envato Purchase Code there.
Where is my purchase code? Click Here.

screenshot

Step Two

Open google_recaptcha.php from download package inside 'server_side' folder and write your Google reCAPTCHA Key there.
How To Get Site Key and Secret Key? Click Here.


Login To cPanel

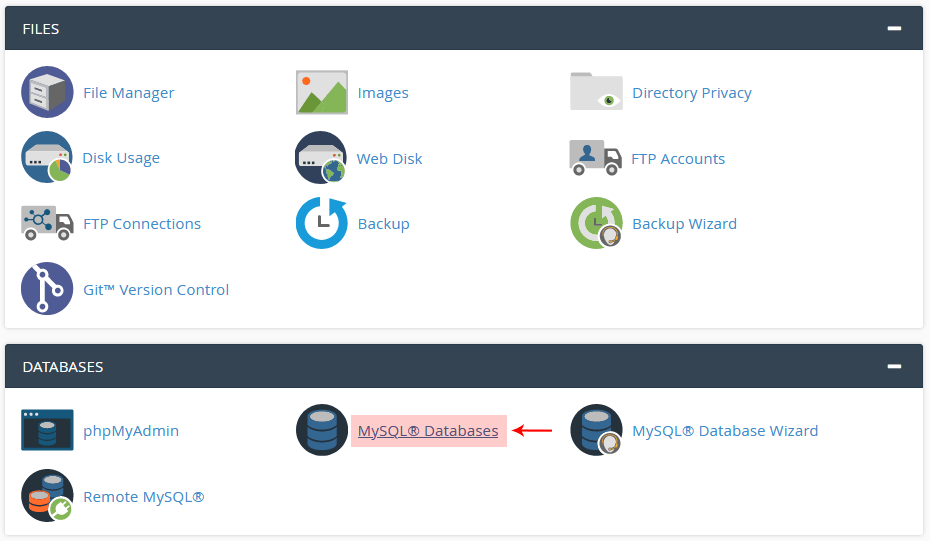
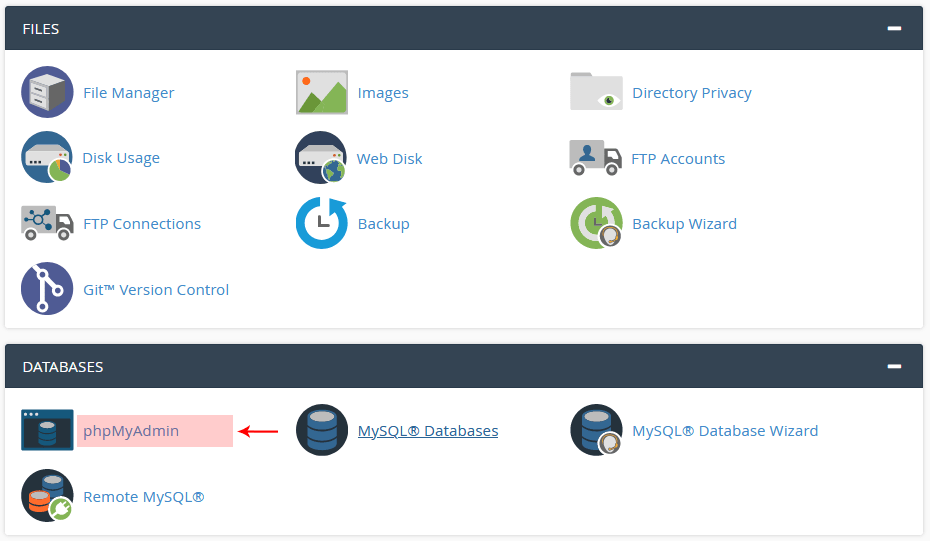
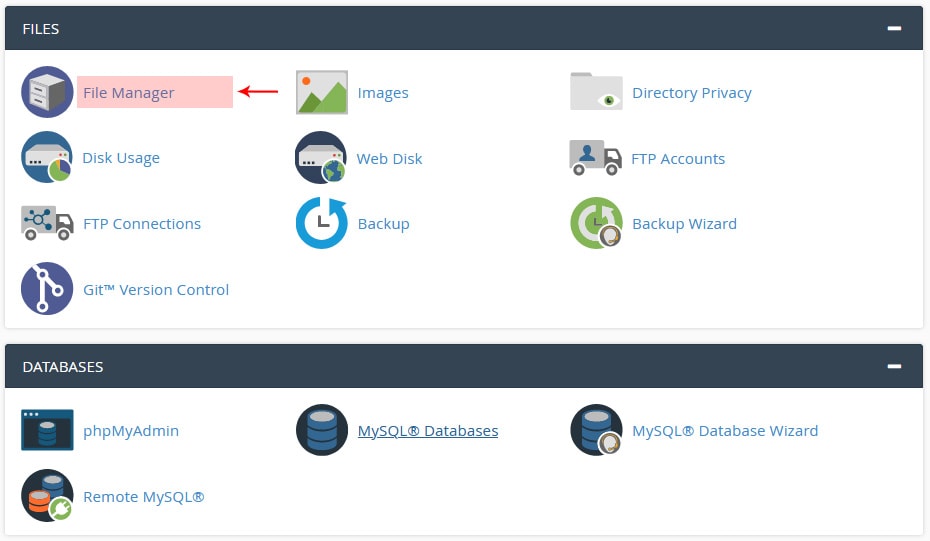
Login to your cPanel or other hosting control panel. Our toturial is based on the cPanel.

Create Database

  1. Click on the: MySQL Databases
  2. Create database and give database name like you want, as example : 'viacoders_mydb’
  3. Create user for your database
  4. Add user to your database and check ALL PRIVILEGES
screenshot

Import Database

  1. Click on the phpMyAdmin and select your database that you created recently
  2. Import SQL.sql from download package inside 'server_side' folder
screenshot

Upload PHP Scripts

  1. Open File Manager via cPanel or FTP server, upload all php script inside Server_Side folder to folder destination on your hosting, highly recommended to compress all files into .zip file before you upload it and extract it after the .zip file is uploaded.
  2. Do not forget to upload .htaccess files! For example, Mac or Linux OS hides .htaccess files and you can upload the script without .htaccess files and you get error.
  3. Configure the database connection file, open 'database.php' in folder 'application/config' which is in the includes folder of your package.
  4. Put your database information on line: 78 ~ 81
  5. <?php 
    'hostname' => 'localhost',
    'username' => 'YourDatabaseUsername',
    'password' => 'YourDatabasePassword',
    'database' => 'YourDatabaseName', 
    ?>

  6. Login to Admin Dashboard:
  7. Login URL: www.YourDomain.com/dashboard
    Username: admin
    Password: 123456789
screenshot

Be Careful:

Do not forget to upload .htaccess files! For example, Mac or Linux OS hides .htaccess files and you can upload the script without .htaccess files and you get error.

FAQ

If there are any problems, please visit our FAQ page. Click Here!

Android Side

After you have done the server side, please go to Android Side toturial.